
How To Make A DIY Triangle Book Stand With Hidden Storage
Build A Book Holder Stand With Hidden Storage
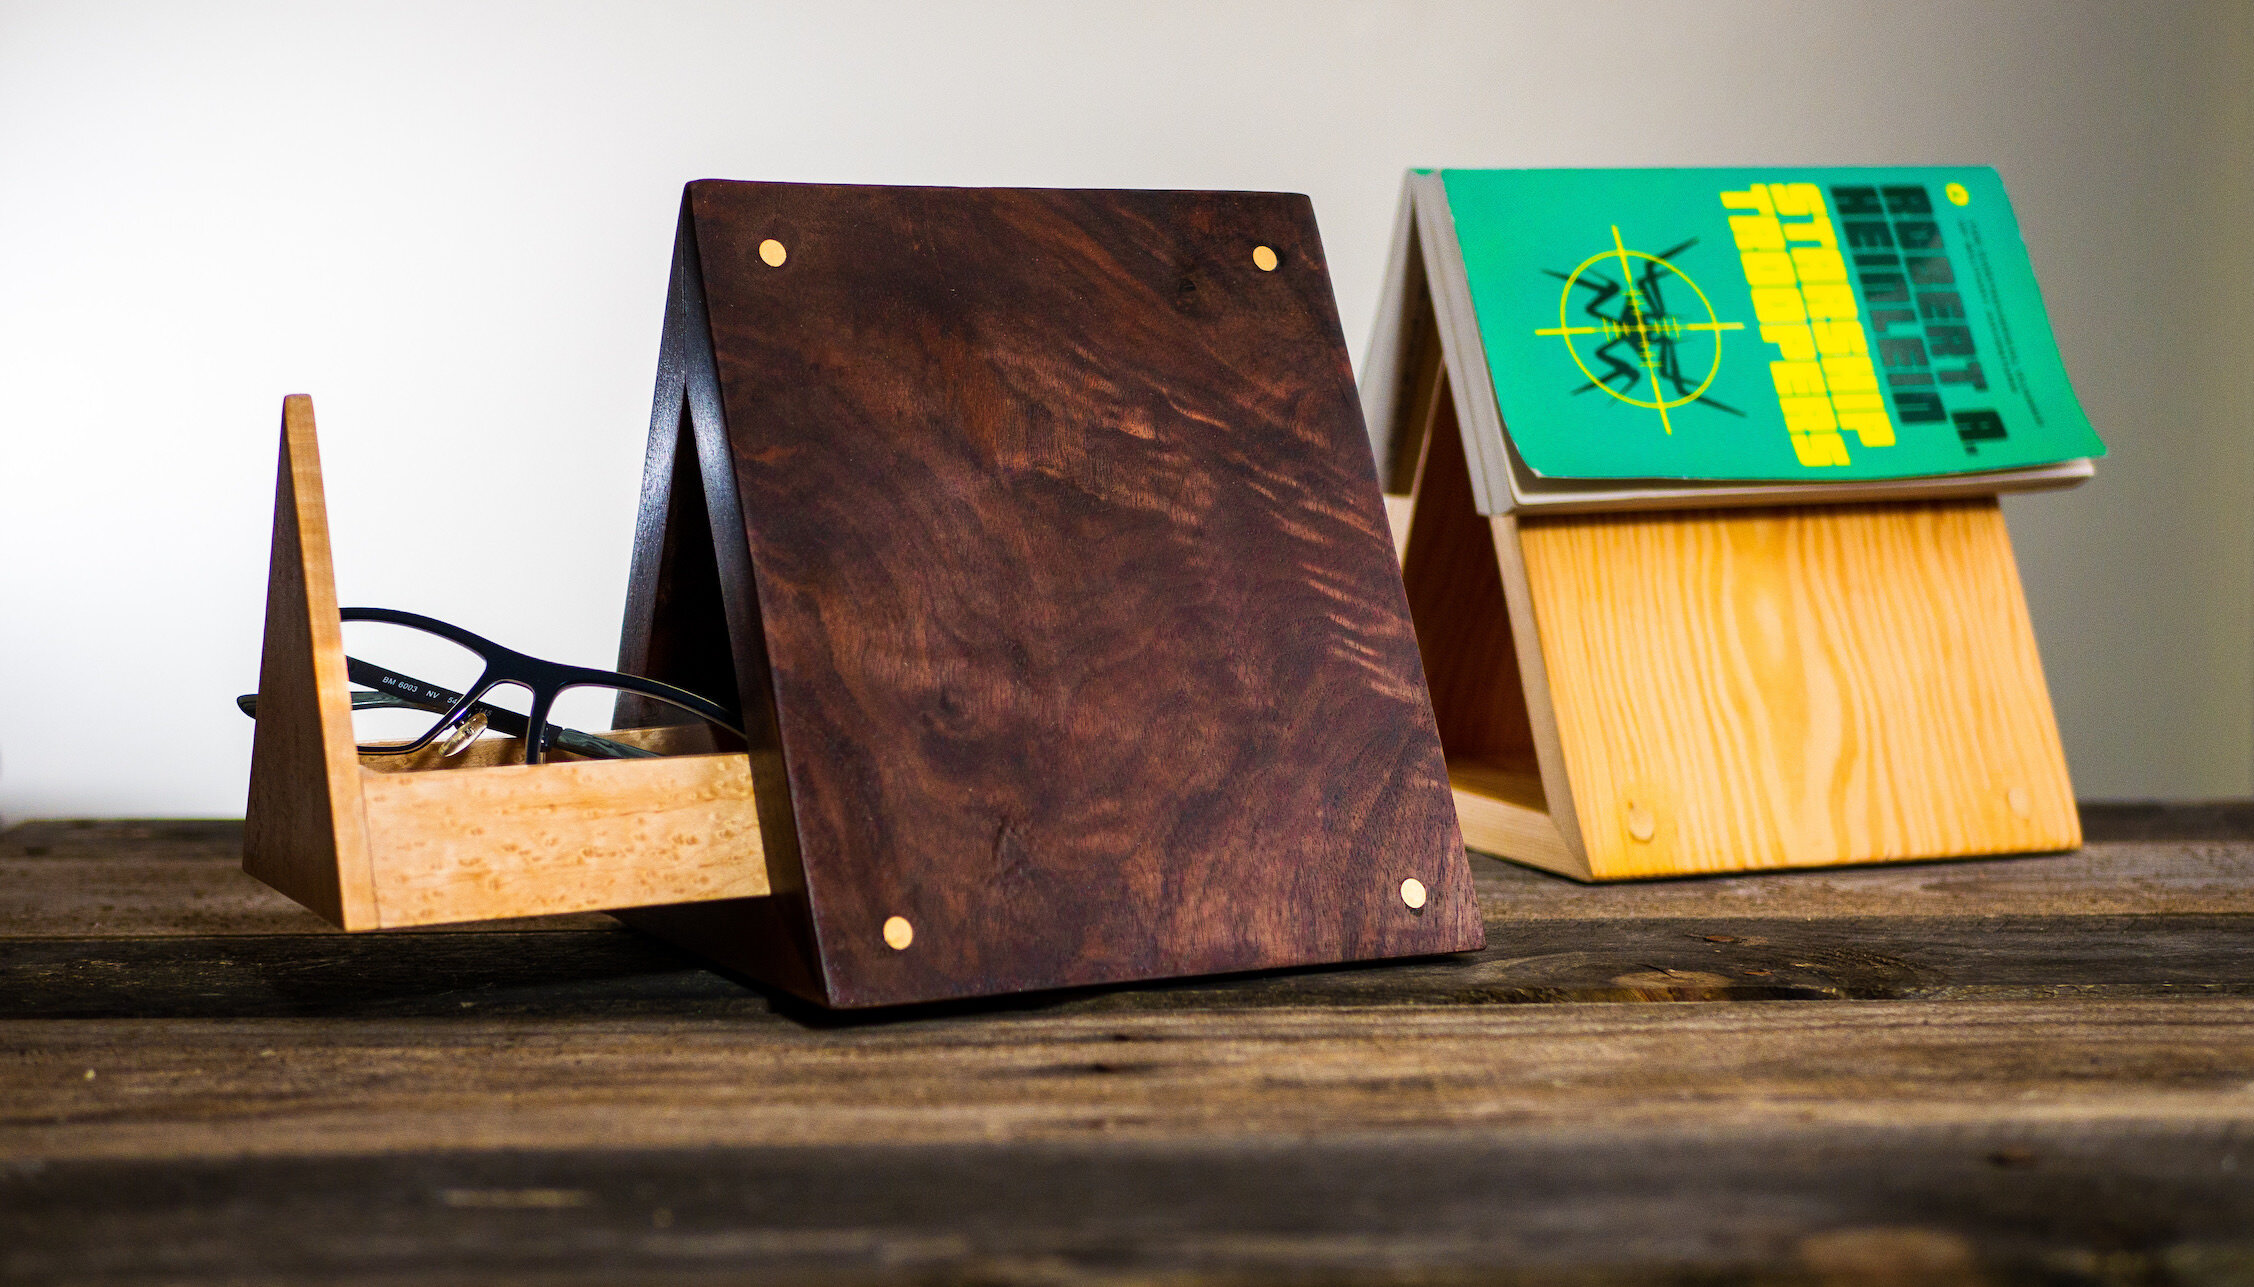
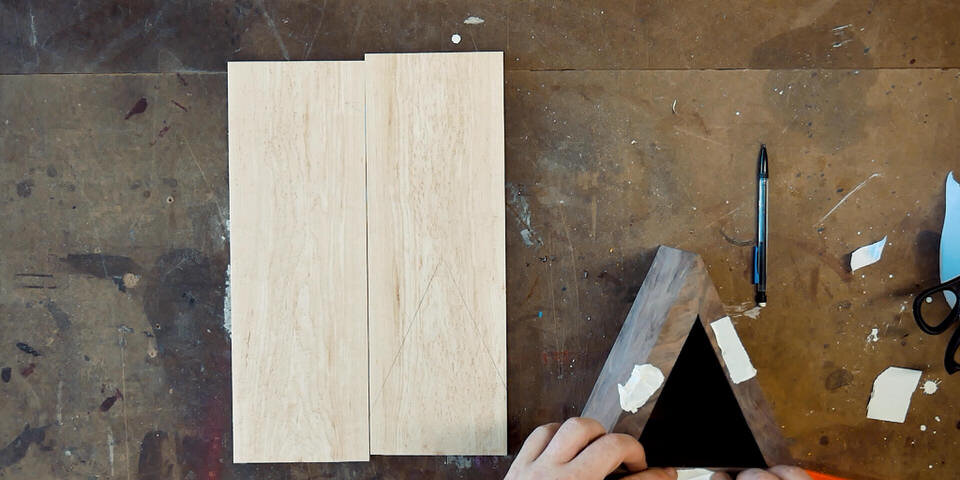
Fancy Book Holder on the left, more simple DIY Triangle Book Stand on the right.
The DIY Book Holder is the perfect intermediate project, or woodworking gift for the book lover in your life. Not only do they look attractive sitting on your end table or night stand, but I mean it when I say they're useful.
You can save your place in your book just by placing it over the holder, SINGLE HANDEDLY!
Plus, in the plans available below, I show you how to add a neat little drawer for storing your reading glasses, pens, pencils, etc.
They may look simple, but these book stands are more of a challenging woodworking project than they appear. But in a good way 😉.
TIP:
Above all, the best thing you can do to ensure accuracy and a successful project is to mark your lines with a marking knife and cut TO the lines by slowly whittling away material.
Tools / equipment:
Table saw
Bandsaw or Hacksaw
Metal file
Drill / Drill Press
Materials:
5/8” Walnut (or hardwood of your choice)
and 1” Common Board3/16” Birdseye maple (or other contrasting wood)
1/4” Brass rod
Affiliate links are used on this page. See my disclosure page for info on affiliate programs.
DIY TRIANGLE BOOK HOLDER
Your Wood Stock Is Important
Cutting The Miters
Pre-finishing is a Smart Idea
Frame Assembly Made Easy
Brass Rod Splines For Some Class
Finish the Exterior
Drawer Construction
Your Wood Stock Is Important
Focus on making the main triangle frame of the book holder first.
This project has a few nifty and tricky aspects to it that all hinge around accuracy and proper stock prep so now is a good time to double check that your table saw, miter saw (if applicable), miter gauge, and bevel jig are all perfectly dialed in and accurate.

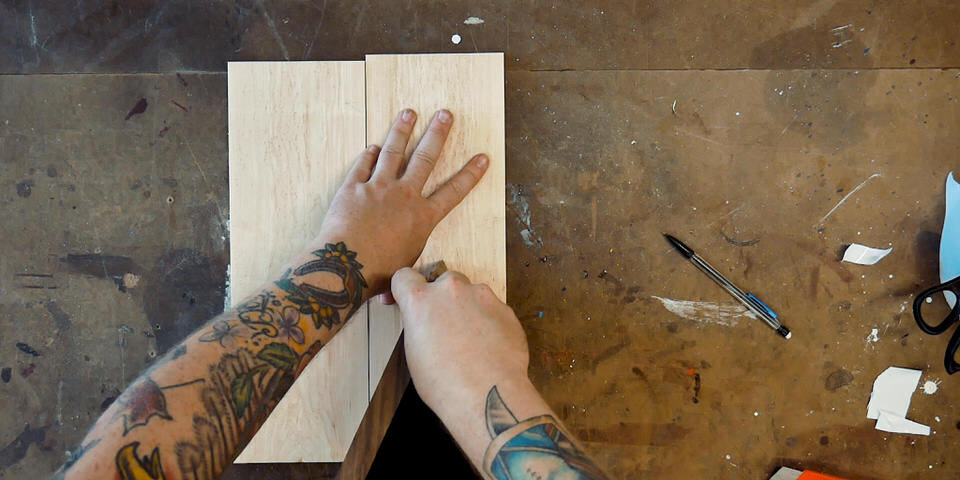
Big box store common boards work perfect for dialing in your book holder cuts.
TIP:
To start out, I recommend using common boards from your local big box store. This way if you mess up during setup and testing you won’t ruin any beautiful wood… like I did.
Cutting The Miters
After you have all of your wood the perfect width, length, and thickness, we can start cutting the miters for the frame of the triangle book stand. A table saw bevel jig is essential to the build.

If you don’t have a bevel jig for you table saw, there are links to the build video, article, and detailed plans on how to build one below.
Since this project relies heavily on accuracy, I recommend cutting your pieces a little long and then trimming them down at the shooting board. This ensures they’re not only equal in length, but that the ends are perfectly 90º.

Use a shooting board and hand plane to refine your cut and square it perfectly to 90º before cutting the bevels.
Set the blade of your table saw to 32.5º, referencing off of your bevel jig fence. If you don’t have a bevel jig, you’ll need to make one for this project since we’re cutting bevels/miters much steeper than the average table saw will allow.

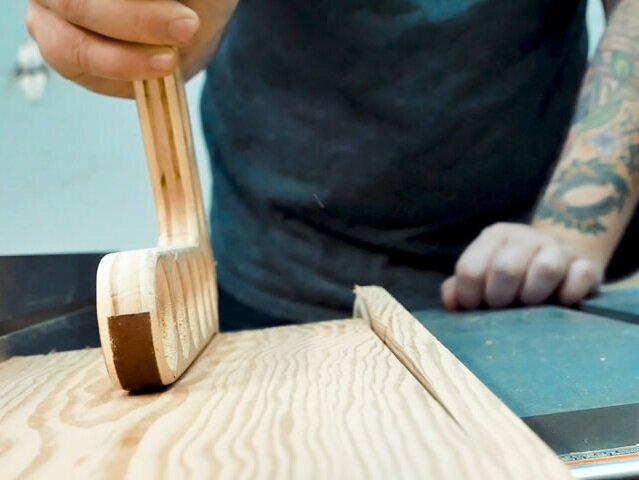
TIP:
With softer wood like this, an easy way to avoid tearout is to add a sacrificial board at the end of the cut.
It took me 4 attempts before I had a passable triangle so don’t feel bad if you’re struggling. This is exactly why it’s a good idea to use inexpensive wood until you’ve got the process and the setup dialed in.

Look at how bad the angles were off on my first attempt. Don’t give up!

My pile of screwed up pieces.
Pre-Finishing is a good idea
Unless you have really, really, tiny hands, I recommend pre-finishing the interior of your book stand before glue-up and assembly. For me, it would be almost impossible to get a good finish on the inside once everything is together.

When I created these plans and made the accompanying video, I had yet to discover my new favorite finishing technique.
So even though the plans call for sanding through multiple grits before applying multiple coats of shellac, I would actually recommend that you check out this video and use THAT finishing technique instead.
Frame Assembly Made Easy
The ole’ painters tape trick works great for gluing up these odd angles that would otherwise be very hard to clamp.

To do this, just lay your triangle pieces flat, face down with the base plate in between the two sides. Make sure the there are no gaps in between the pieces and that they’re all flush with each other.
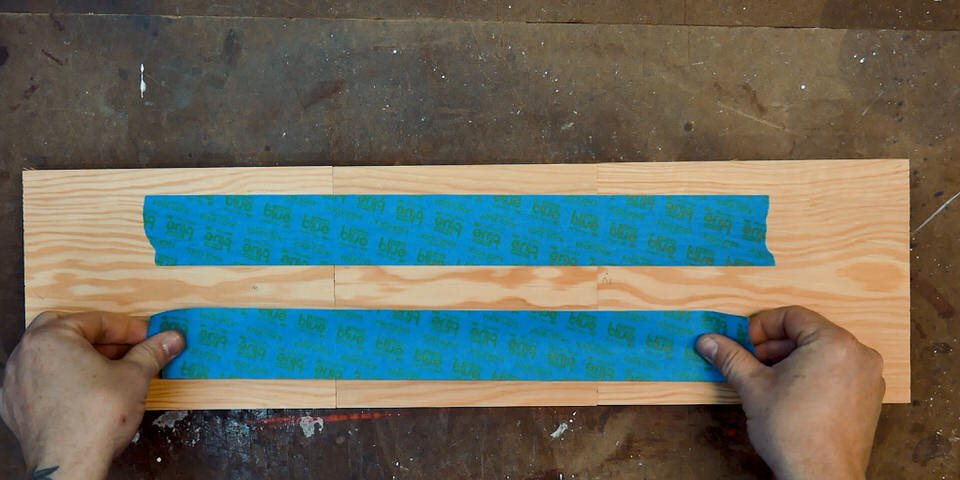
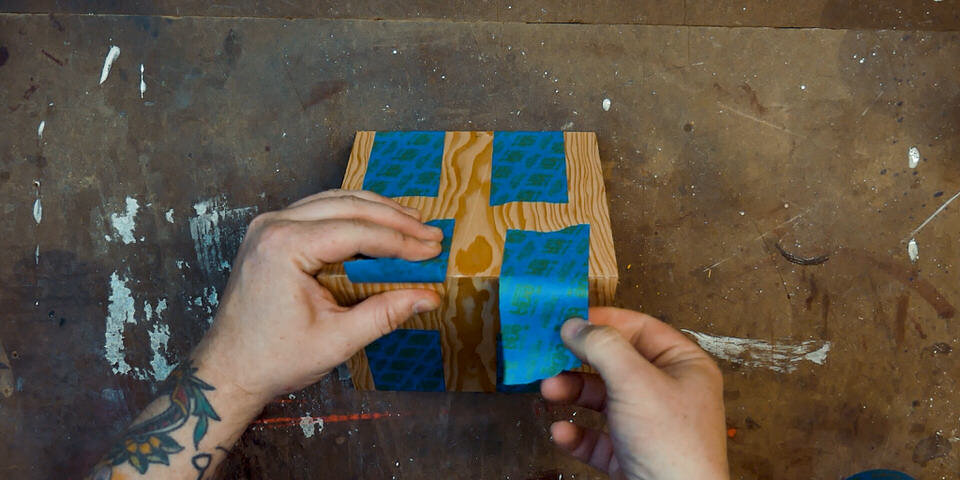
Lay several strips of painter’s tape running the length of the pieces, leaving a couple inches hanging off the end.
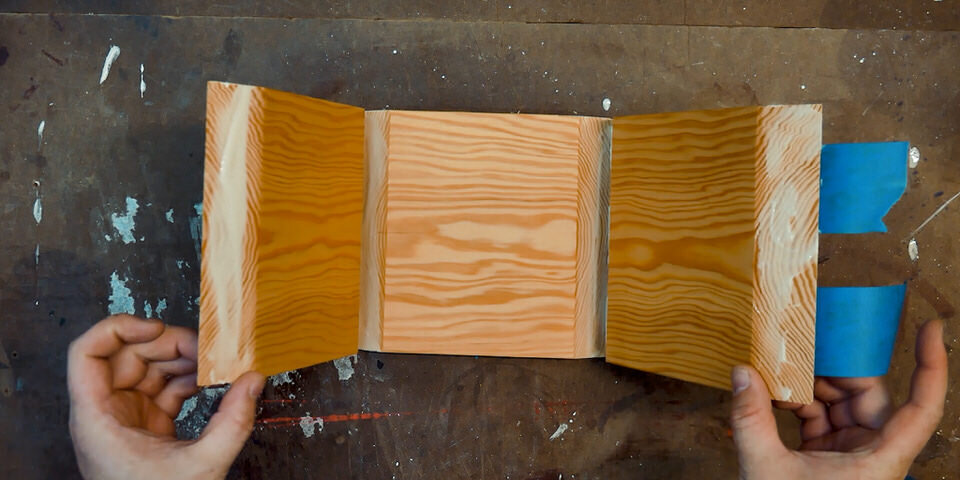
Now flip everything over and apply glue to the joints. Don’t overdue your glue, though, otherwise it will squeeze out inside the book stand where it will be very difficult to clean up.
Plus, we’ll be reinforcing these joints with dowel splines.
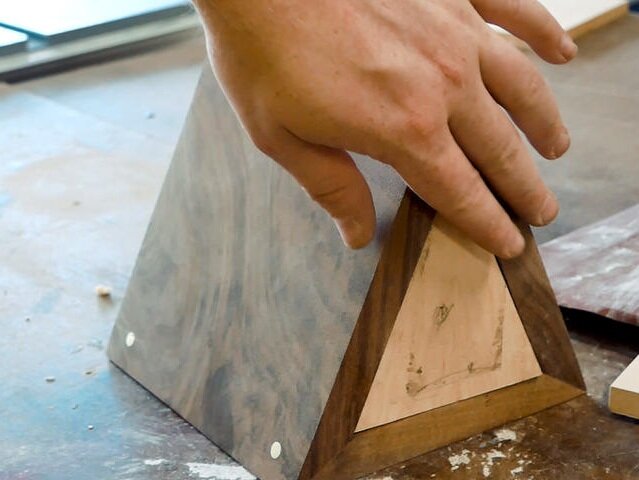
Brass Rod Splines for Some Class
Since these are end-grain to end-grain joints, which are notoriously not strong, we’re going to reinforce them a little with some ¼” dowel splines made from brass rod.
This is another step that I recommend you practice on softwood common boards, using regular wooden dowels first. This will help you get the hang of the process.
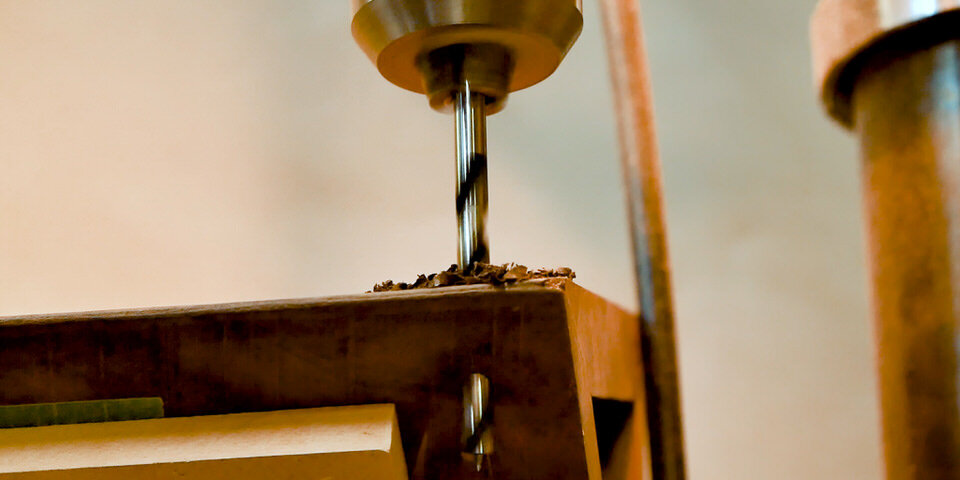
Using a jig to hold the triangle at the proper angle (full details on how to build this jig are included in the plans available here) and a very sharp brad point bit, drill slowly from one side through to the other.
If you drill very carefully, very slowly, and if your drill bit is nice and sharp, there shouldn’t be any tear out. If there is, try putting some sacrificial stock behind the piece or drill until the brad point just peaks through, flip, and drill from the other side.
With the holes drilled carefully cut the brass rod to length, leaving about ½” more than necessary.
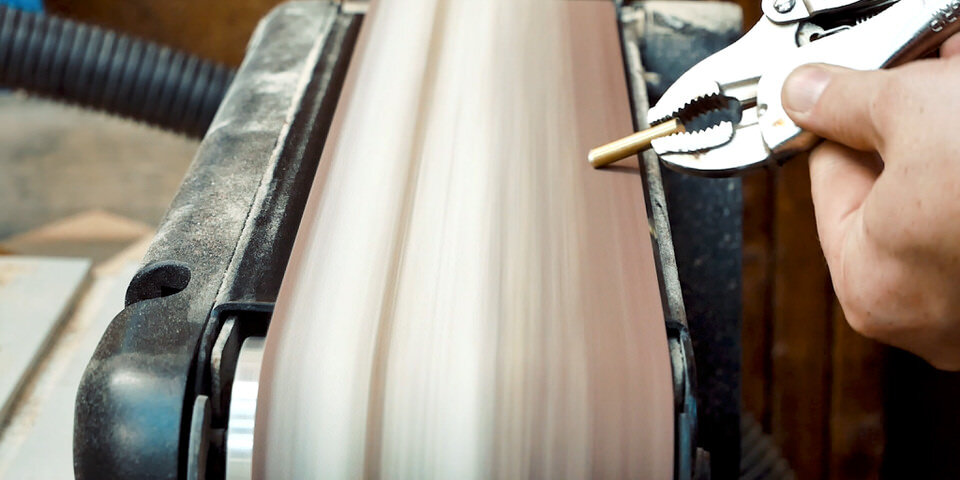
Chamfer one end using vice grips to hold the piece and sandpaper. If you have a belt sander or random orbit sander turned upside down this goes much faster.
Mix together your two-part epoxy and prime both the hole and the brass rod before driving them home. Clean up any squeeze out.

Hammer the brass dowels and epoxy home.

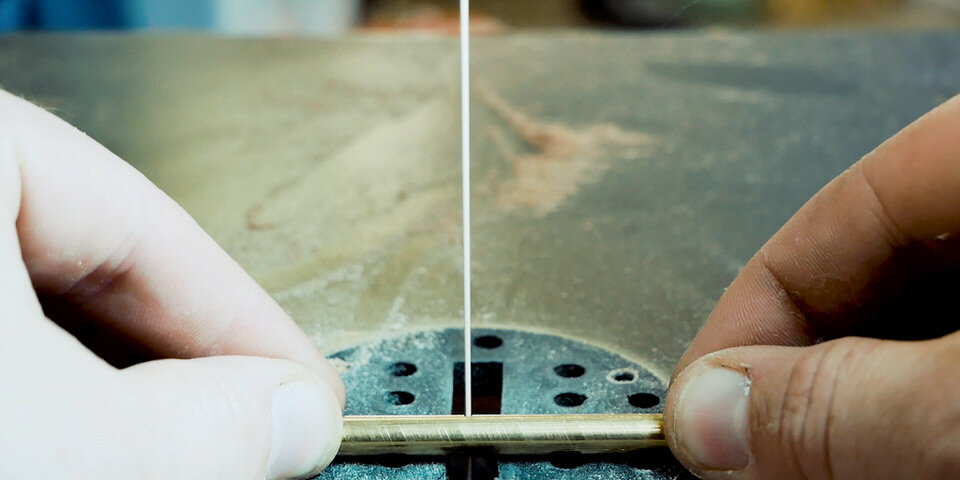
Slice off the splines with a bandsaw or hacksaw.
To flush everything up, you can cut the excess off at the bandsaw, or if you don’t have a bandsaw a hacksaw would work well too. You can even add some painter’s tape to the wood to help protect it from the saw marks.
Once the brass dowel splines are semi-flush you can refine them further with a file and sandpaper.

File down the brass splines then polish with sandpaper.
Finish The Exterior - Hide Your Crimes
Despite all your hard work to make sure the miters are perfect, you may still have gaps after glue up, like I did. But that’s OK. Like Adam Savage is fond of saying, we just need to hide a few crimes.

Gaps can be fixed with wood glue, super fine saw dust, and a burnisher.
A little bit of sawdust from the same wood, mixed together with glue until it’s a nice slightly runny paste, placed in the gaps, and then burnished and sanded will typically hide the gaps pretty well.
Sand or scrape the exterior and apply your preferred finish. My favorite is Osmo.
Drawer ConstructioN
The final step is what really sets this project apart: the little drawer for holding reading glasses, or pens, or pencils, etc.
Dimensioning the stock is much the same, jointing and planing down to 1/4” thick.
The best way to ensure the drawer measurements are dead-accurate is not to measure at all. Instead, mark the measurements directly from the stock, using the different pieces as you make them for reference.
Use double sided tape to stick the triangle frame onto the drawer from stock, then use a pencil and trace the inside of the book stand frame.
Sticking the two pieces together with more double sided tape makes it so you can cut out both the front and back of the drawer at once.
Make sure to cut proud of your lines so you can work to up TO the lines, checking the fit along the way before doing the final fine tuning with a block plane.

Cut the front at back simultaneously.

Sand up TO the lines.
Refine the fit with a block plane.
Once the faces are fitting in the frame snuggly, we can use some offcuts to mark lines giving us the exact dimensions we’ll need for the base, sides, and inner face of the drawers.
At this level of the build, (I know I sound like a broken record) we’re always using a marking knife, and we’re always working down TO our lines instead of cutting AT them.

Use offcuts to accurately mark the locations for the bottom and sides.
Double check everything with a dry fit, then finish the inside of the drawer before glue up.
To glue the drawer together I opted to use a mix of wood glue for strength and CA glue for super fast curing since these pieces would be very hard to clamp together while letting the wood glue dry.

Out of Curiosity
Who did you make your new DIY Triangle Book Stand for?
Or better yet… what are you going to keep in the secret drawer?
Or, perhaps the best question of all: What’s the first book you plan on reading and then resting on your new book stand?
