
How To Make A Table Saw Bevel Jig and Tame Tricky Cuts
Make An Easy Table Saw Bevel Jig


When it comes to power tools the table saw is often considered the heart of any shop, and for good reason. From ripping down sheet goods, to dimensioning hardwood stock; cutting box joints, dados, rabbets, etc., the table saw makes quick work of many tasks.
One thing it falls short on though, is angled cuts with a bevel less than 45º. In other words, as most table saws ship from the manufacturer, you can only cut a 90º-45º angle.
BUT, if we simply turn the stock vertically and add a bevel jig, now we’ve opened up a whole new world of degrees.
By safely securing the workpiece vertically you can cut much steeper angles without many of the massive safety risks you would encounter if you did it unsecured or without the jig.
Tools Used
Table saw
Miter saw
Bandsaw
or jigsaw
Affiliate links are used on this page. See my disclosures for more info on affiliate programs.
Make A Table Saw Bevel Jig:
Cutting The Fence Cap
Main fence and clamp slots
vertical stop block
Adding a handle
Assembly
Test cuts
Practice safe table saw technique!
Cutting the fence cap
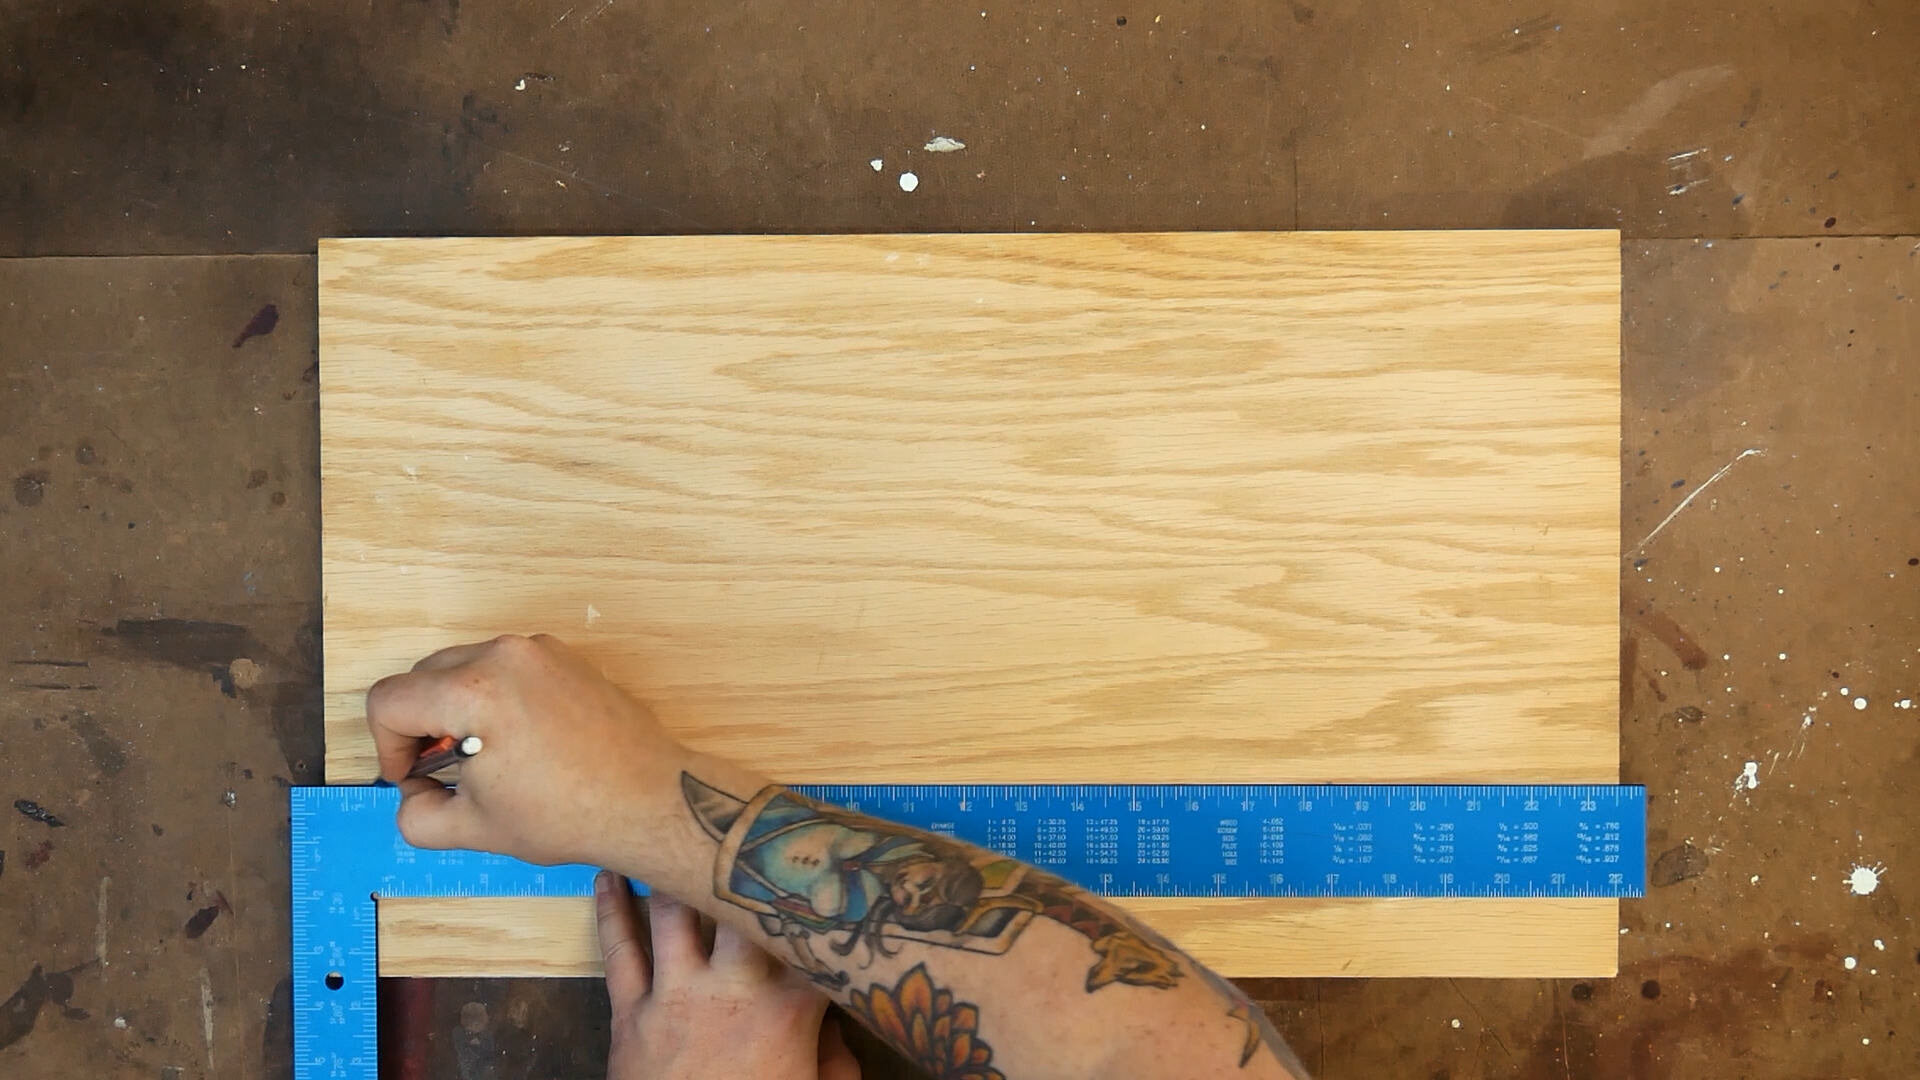
The first thing we’ll do is measure the width of my table saw’s fence and cut a strip of plywood to match it exactly. It’s very important that this is not wider or narrower than you fence. If it is, the jig will most likely be unsafe, unstable, or it just won’t work properly.

Cutting the fence cap to the exact width of the table saw’s fence.
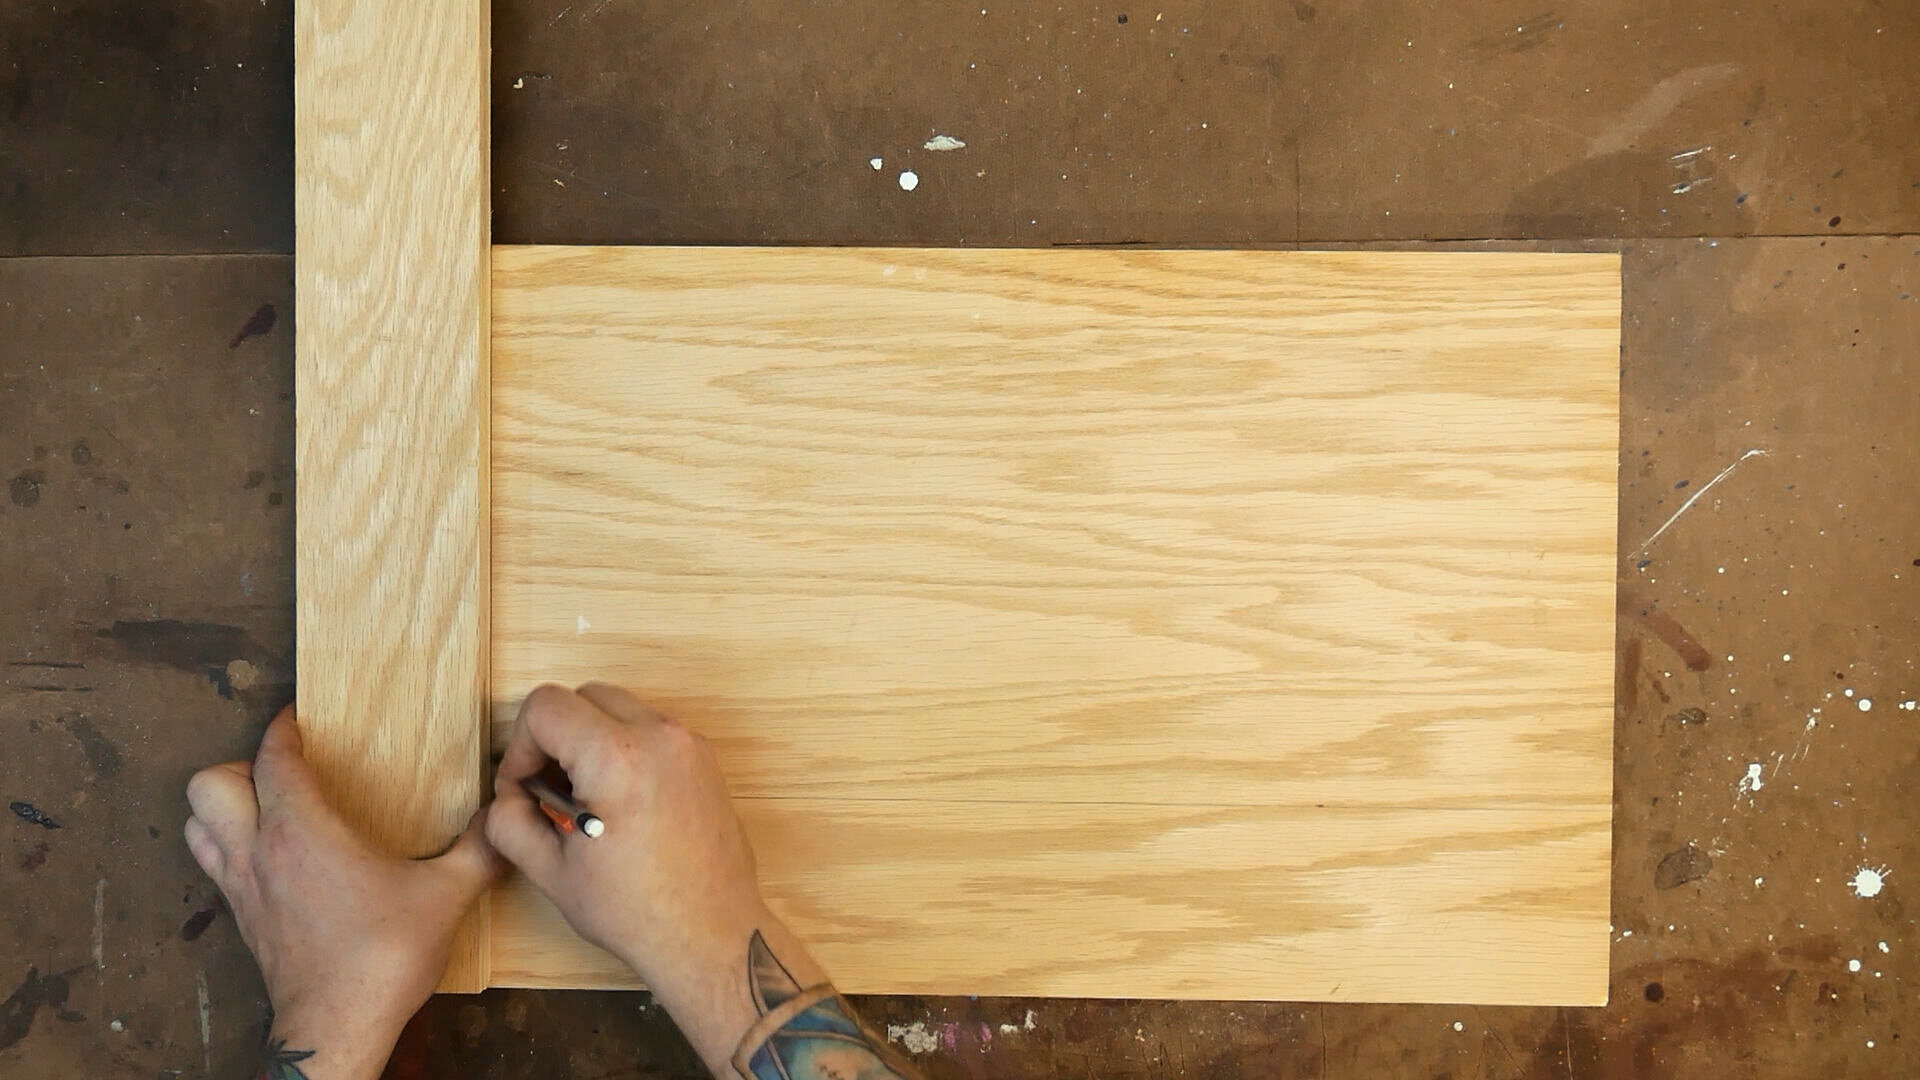
After placing that strip on top of the fence I could measure down to the table of my saw and cut the back support that would make up the fence rail system. This is another measurement that needs to be dead-on accurate.
TIP: cut your pieces slightly bigger and plane/sand down to the perfect fit

Main Fence & Clamp Slots
My first draft plans for this jig had hard-mounted toggle clamps attached to the fence, but this would have limited the versatility… and I realized I have a bunch of perfectly good F-Clamps that would be much more versatile and all they need is some slots cut for them to slide in along the jig’s fence.
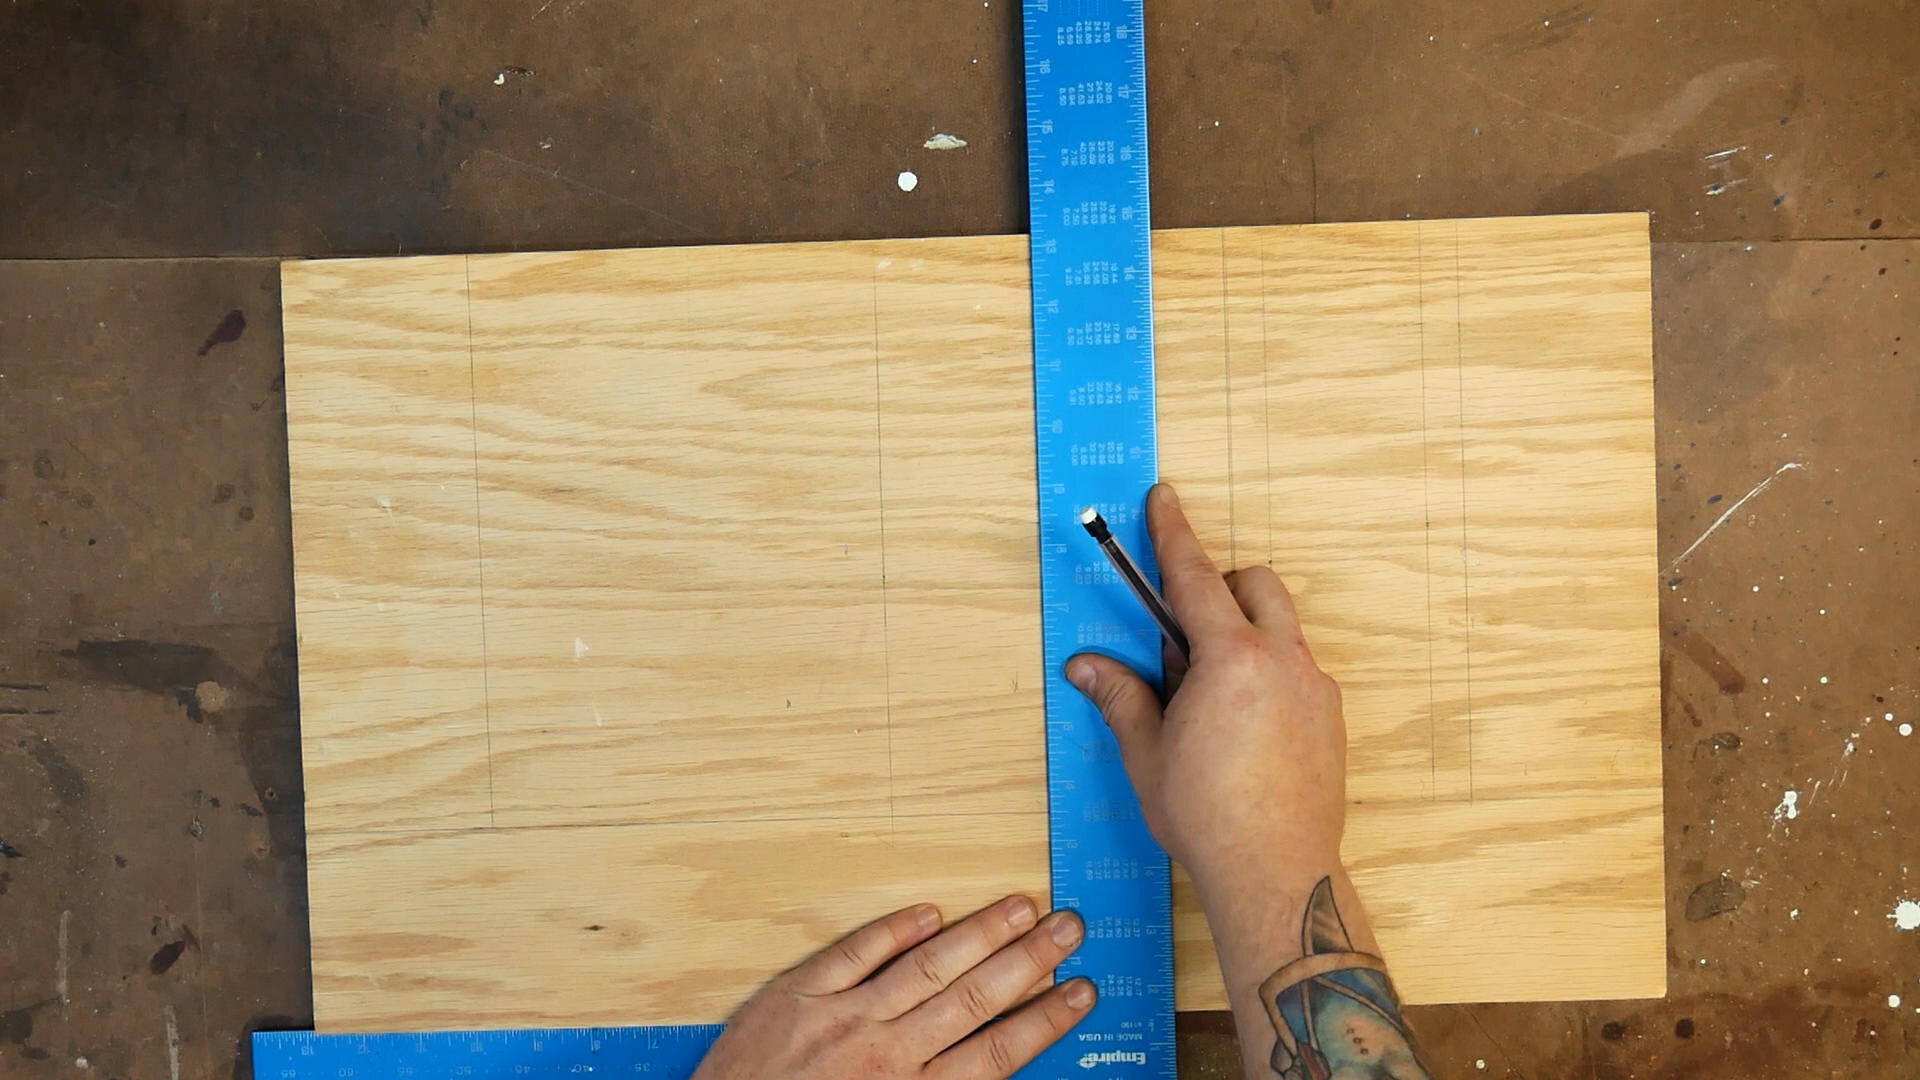
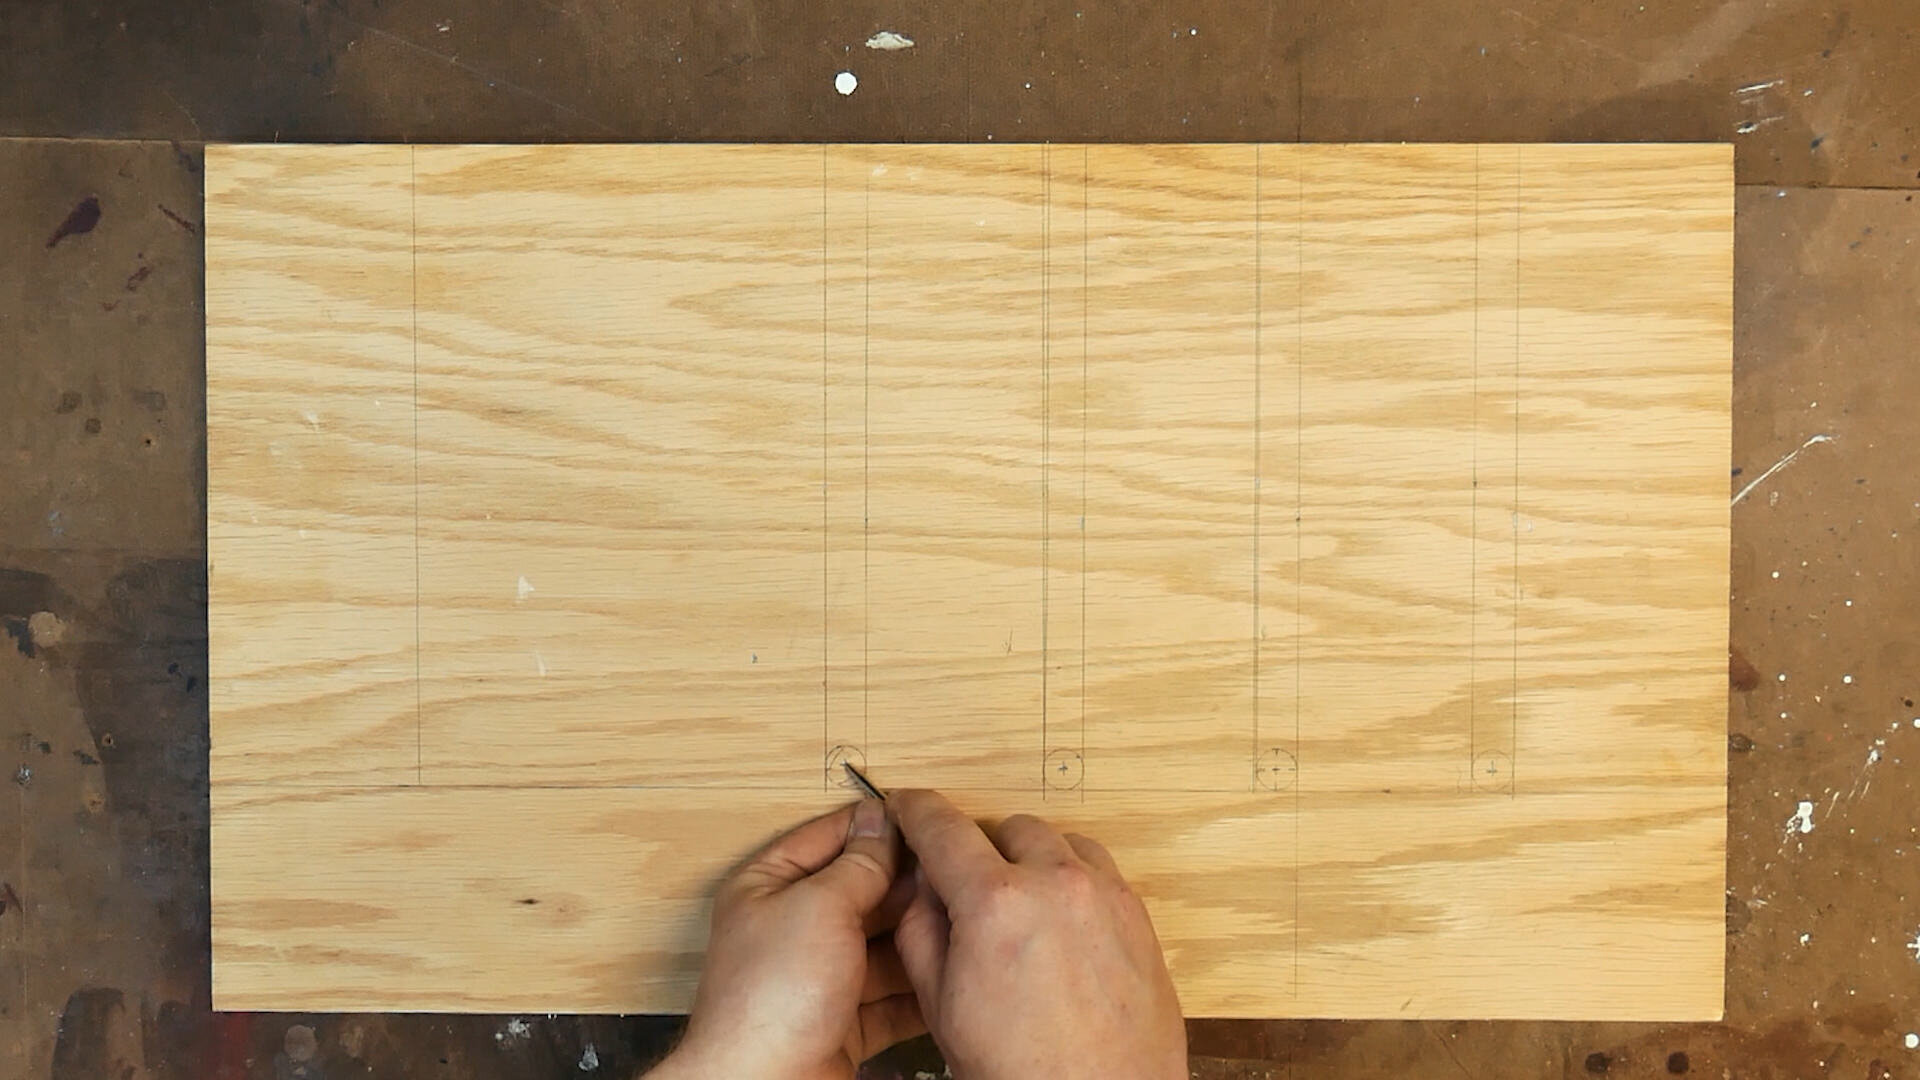
With the stock for the main fence cut to size, I laid out a baseline for the slots with pencil.
I spaced the slots out using one of my clamps for reference, and made the slots ⅝” wide, which is just enough width to allow the clamp to twist and reach whatever material I cut.
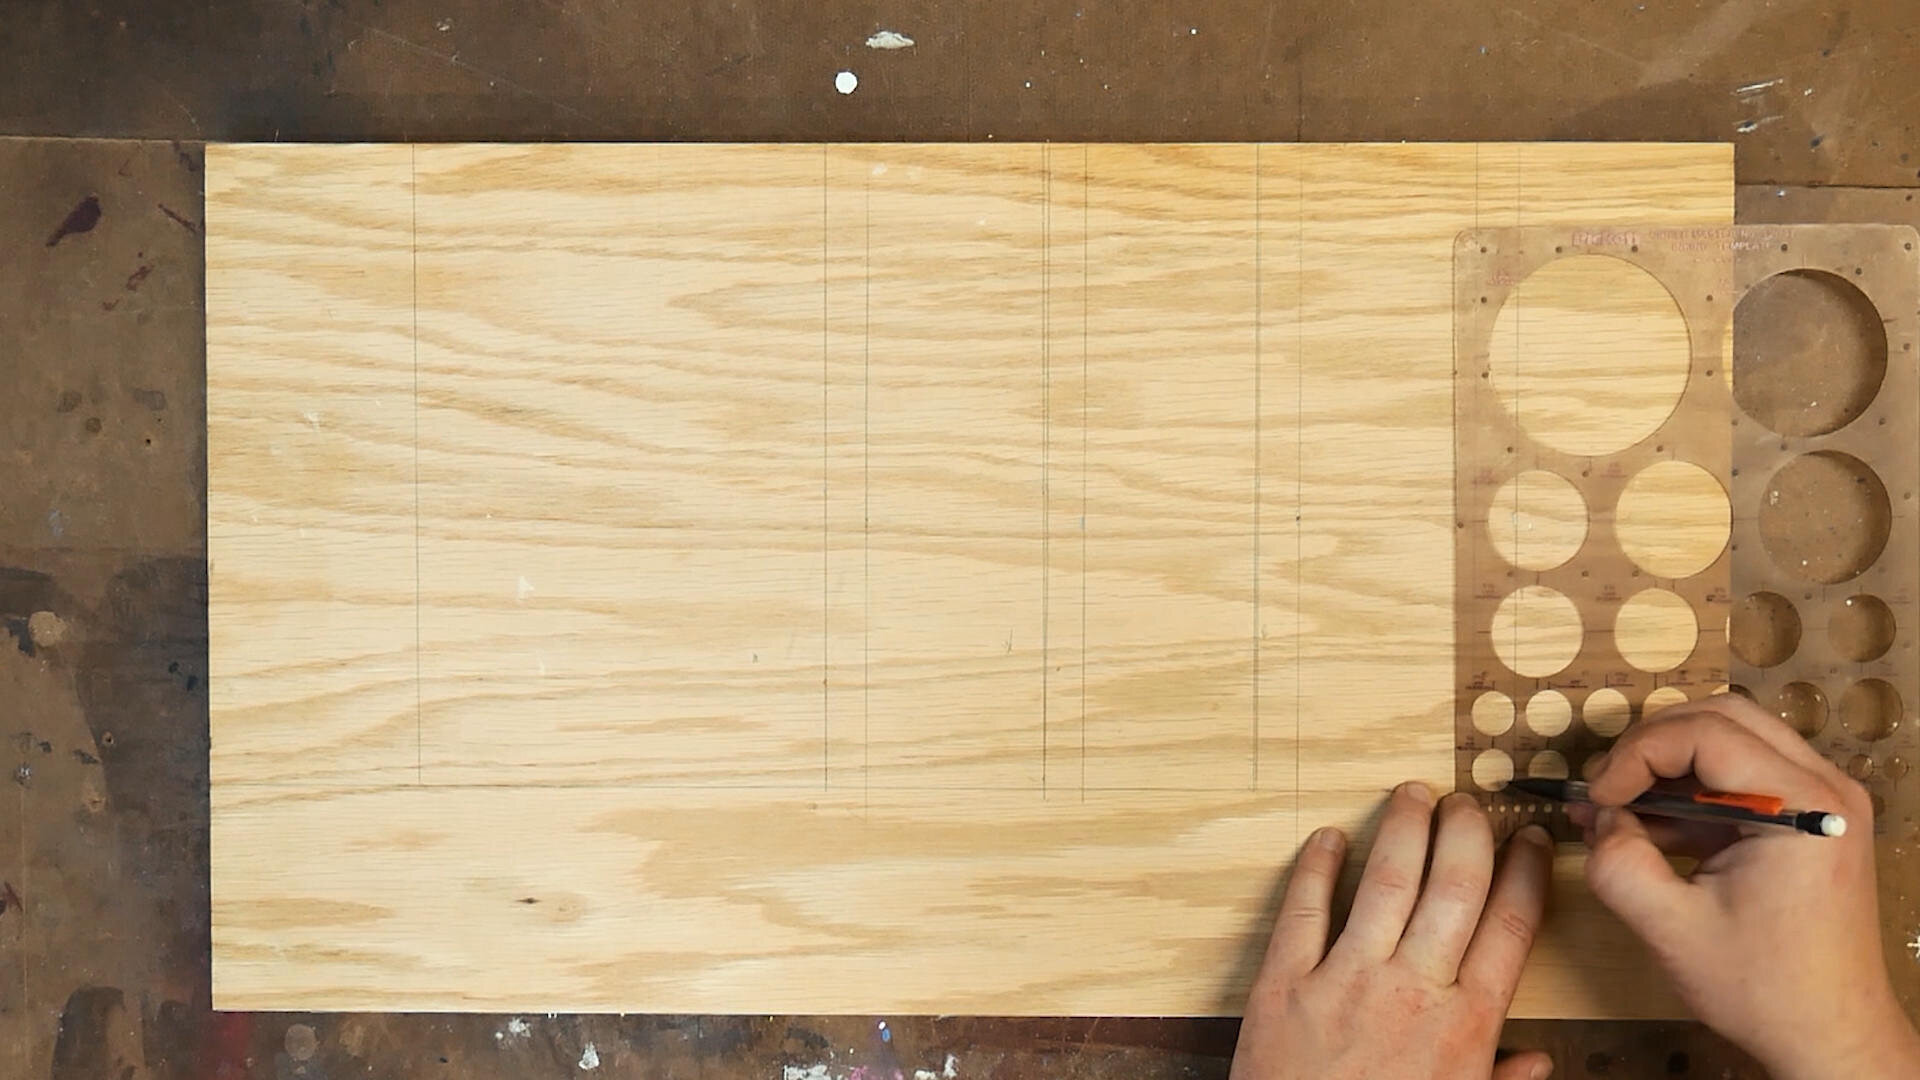
A circle stencil made it very easy to visualize where the drill bit will go for the bottom of the slot and find center.

When making your bevel jig, try not improperly drill your holes like I did. I should have drilled a small pilot hole and used the forstner bit from both sides, meeting in the middle, to avoid tearout. But then again, this is a shop jig, not gallery-level furniture, so a little blowout never hurt nobody 😉.
Drill out the bottoms of the slots with a forstner bit.
Best practice is to drill from both sides to avoid tearout.
To cut the waste of the slots out I used my bandsaw but a jigsaw would work just as well.
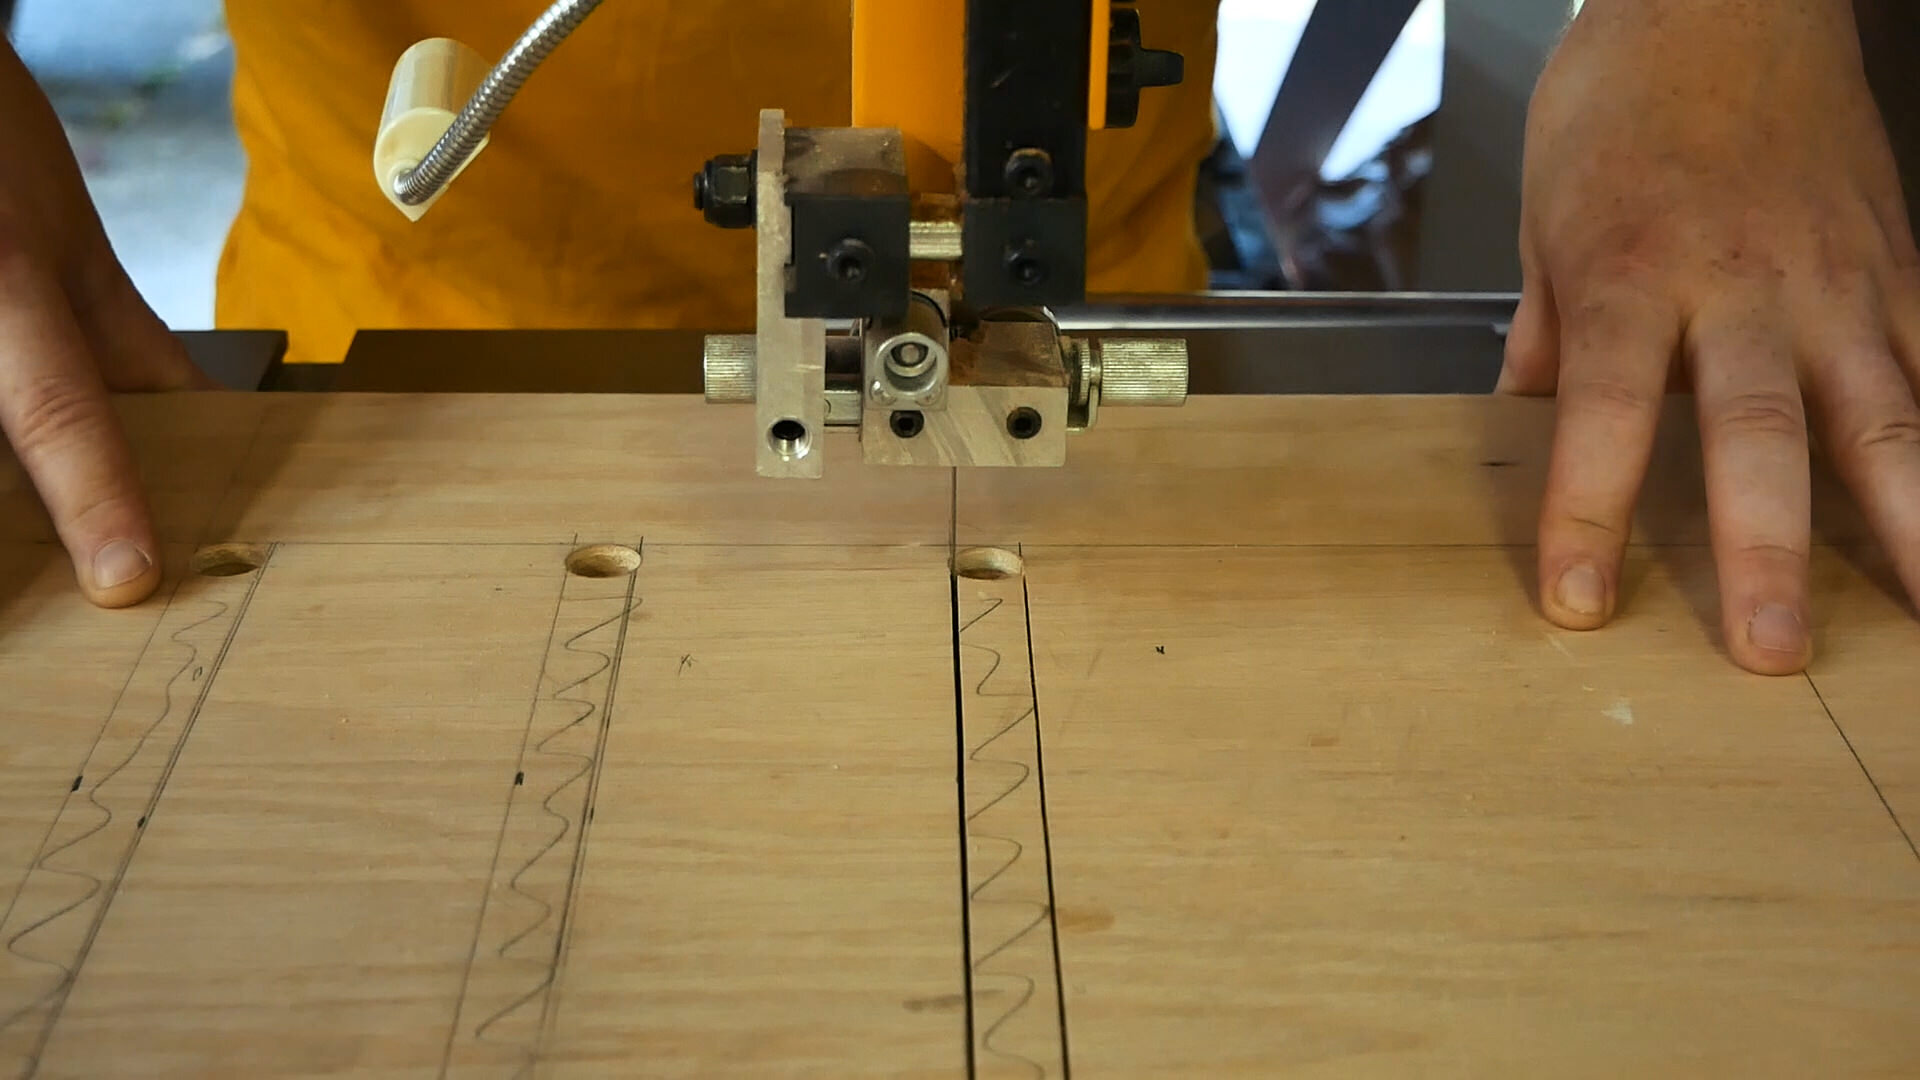
Cutting out the clamp slot waste at the bandsaw. A jigsaw could easily do this task as well.
This step could also be done at the table saw, but it isn’t the safest method and I do not recommend it. Lots of opportunity for kickback.
Vertical Support Fence
To add a little bit more support to the workpiece being cut on the jig, and to increase the jig’s clamping power, I added a vertical support fence made from the same 3/4” plywood, glued and tacked in place. Just make sure that this support fence is 90º to your table saw table.

Gluing the support fence to the main fence.

It’s critical that the support fence is 90º to your table.
With the vertical support fence installed I added a few more clamping slots using the same techniques as before.

Adding horizontal clamp slots to the support fence.
Add A Handle
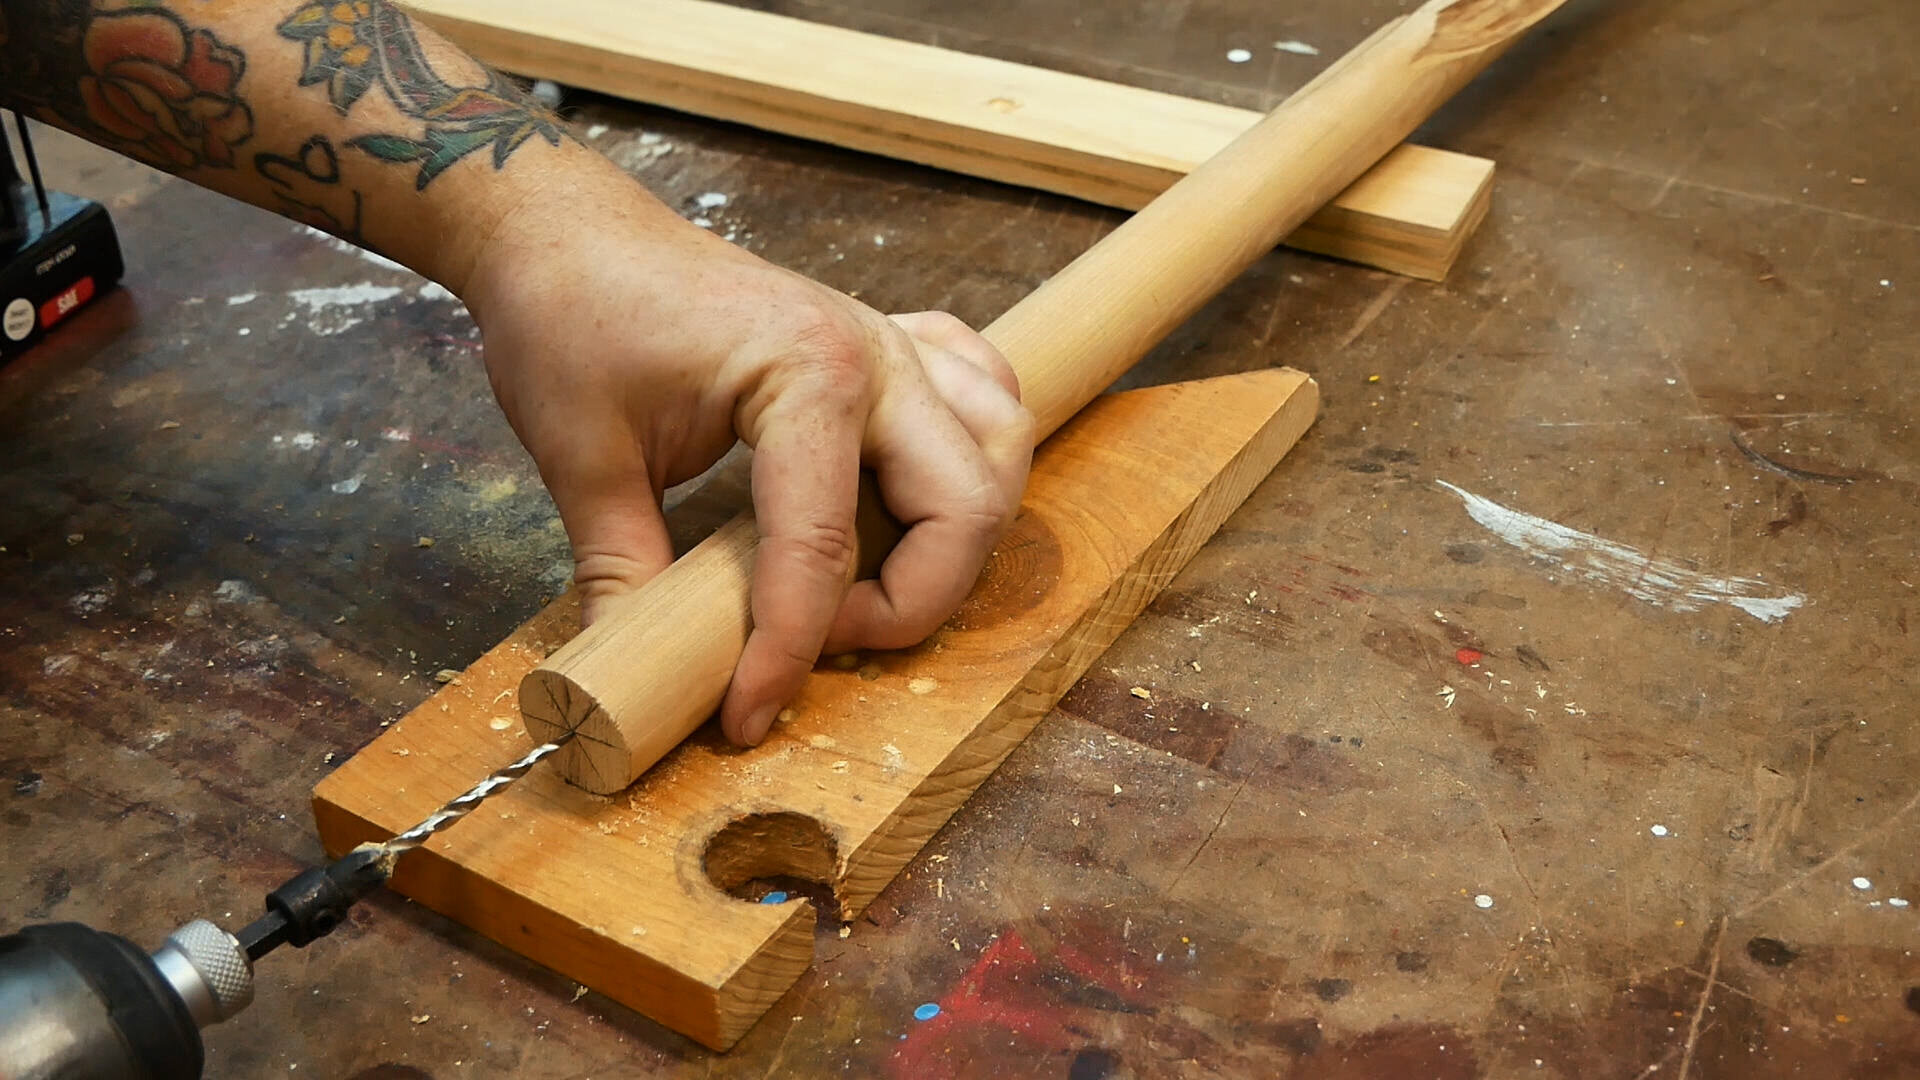
Adding a handle makes operating the jig a little safer and a little easier. Large dowels work great for this. I had some laying around that I salvaged from the scrap bin of a cabinet shop. You’d be amazed at what you can find for free in others’ scrap bins. But make sure to ask permission first.

To add the handle, simply cut it to size, drill a pilot hole in both the dowel and the fence slide top-plate and screw the handle to the plywood from underneath using a 3” screw.
Since we have the drill out, now is a good time to drill and countersink the holes for attaching all of the components together.
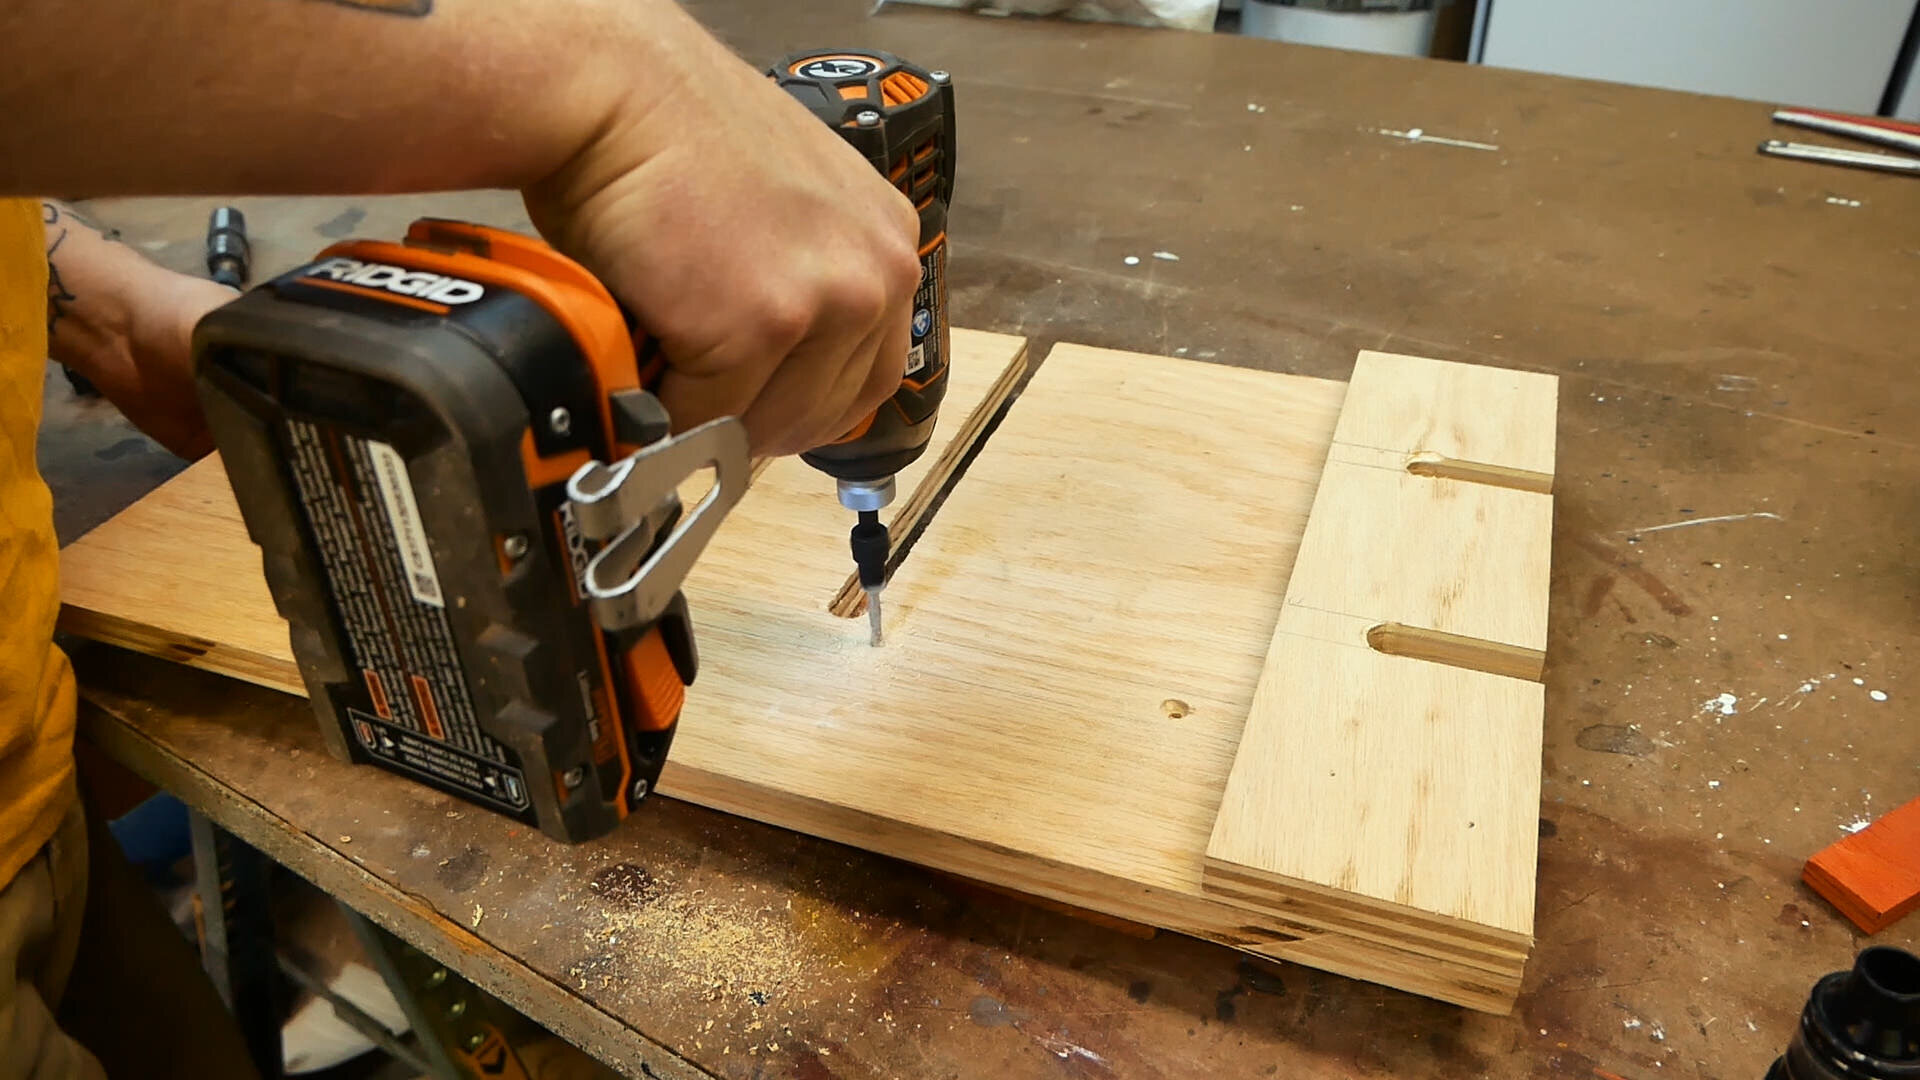
Assembly
We’re in the endgame now - assembly.
I clamped everything to my table saw’s fence, made sure it was square, and then assembled with screws. If you want to add glue to your jig, you can, but I opted for no glue to allow for adjustment later if my build was a little off or I needed to replace a part.


With everything assembled, give it a test slide make sure it’s not too loose or binding anywhere and make any adjustments necessary.
TIP: If your jig is just a little loose, first try shimming it with painter’s tape instead of re-assembling.
A coat of paste wax on the inside of the rail ensures smooth movement along the table saw’s fence.

Paste wax helps the jig slide smoothly along the table saw fence.
Test Cuts
With the jig assembled and sliding smoothly we can make some test cuts just to verify everything is square and in-line.

The versatility of this jig, while being so simple, still kind of shocks me. The clamp slots make it very easy to securely hold a variety of material sizes. The only real limitation is the size of the jig itself.
PRACTICE SAFE TABLE SAW TECHNIQUE
Always make sure to read your owner’s manual and follow any safety guidelines listed therein. Do not replicate anything you see in our content without first doing your own due diligence and research into proper safety techniques and procedures!
If at anytime you do not feel comfortable making a cut on your table saw…DON’T. It’s better to walk away from the project than walk away injured.